Pros and Cons of Converting Your Tub to a Walk-in Shower
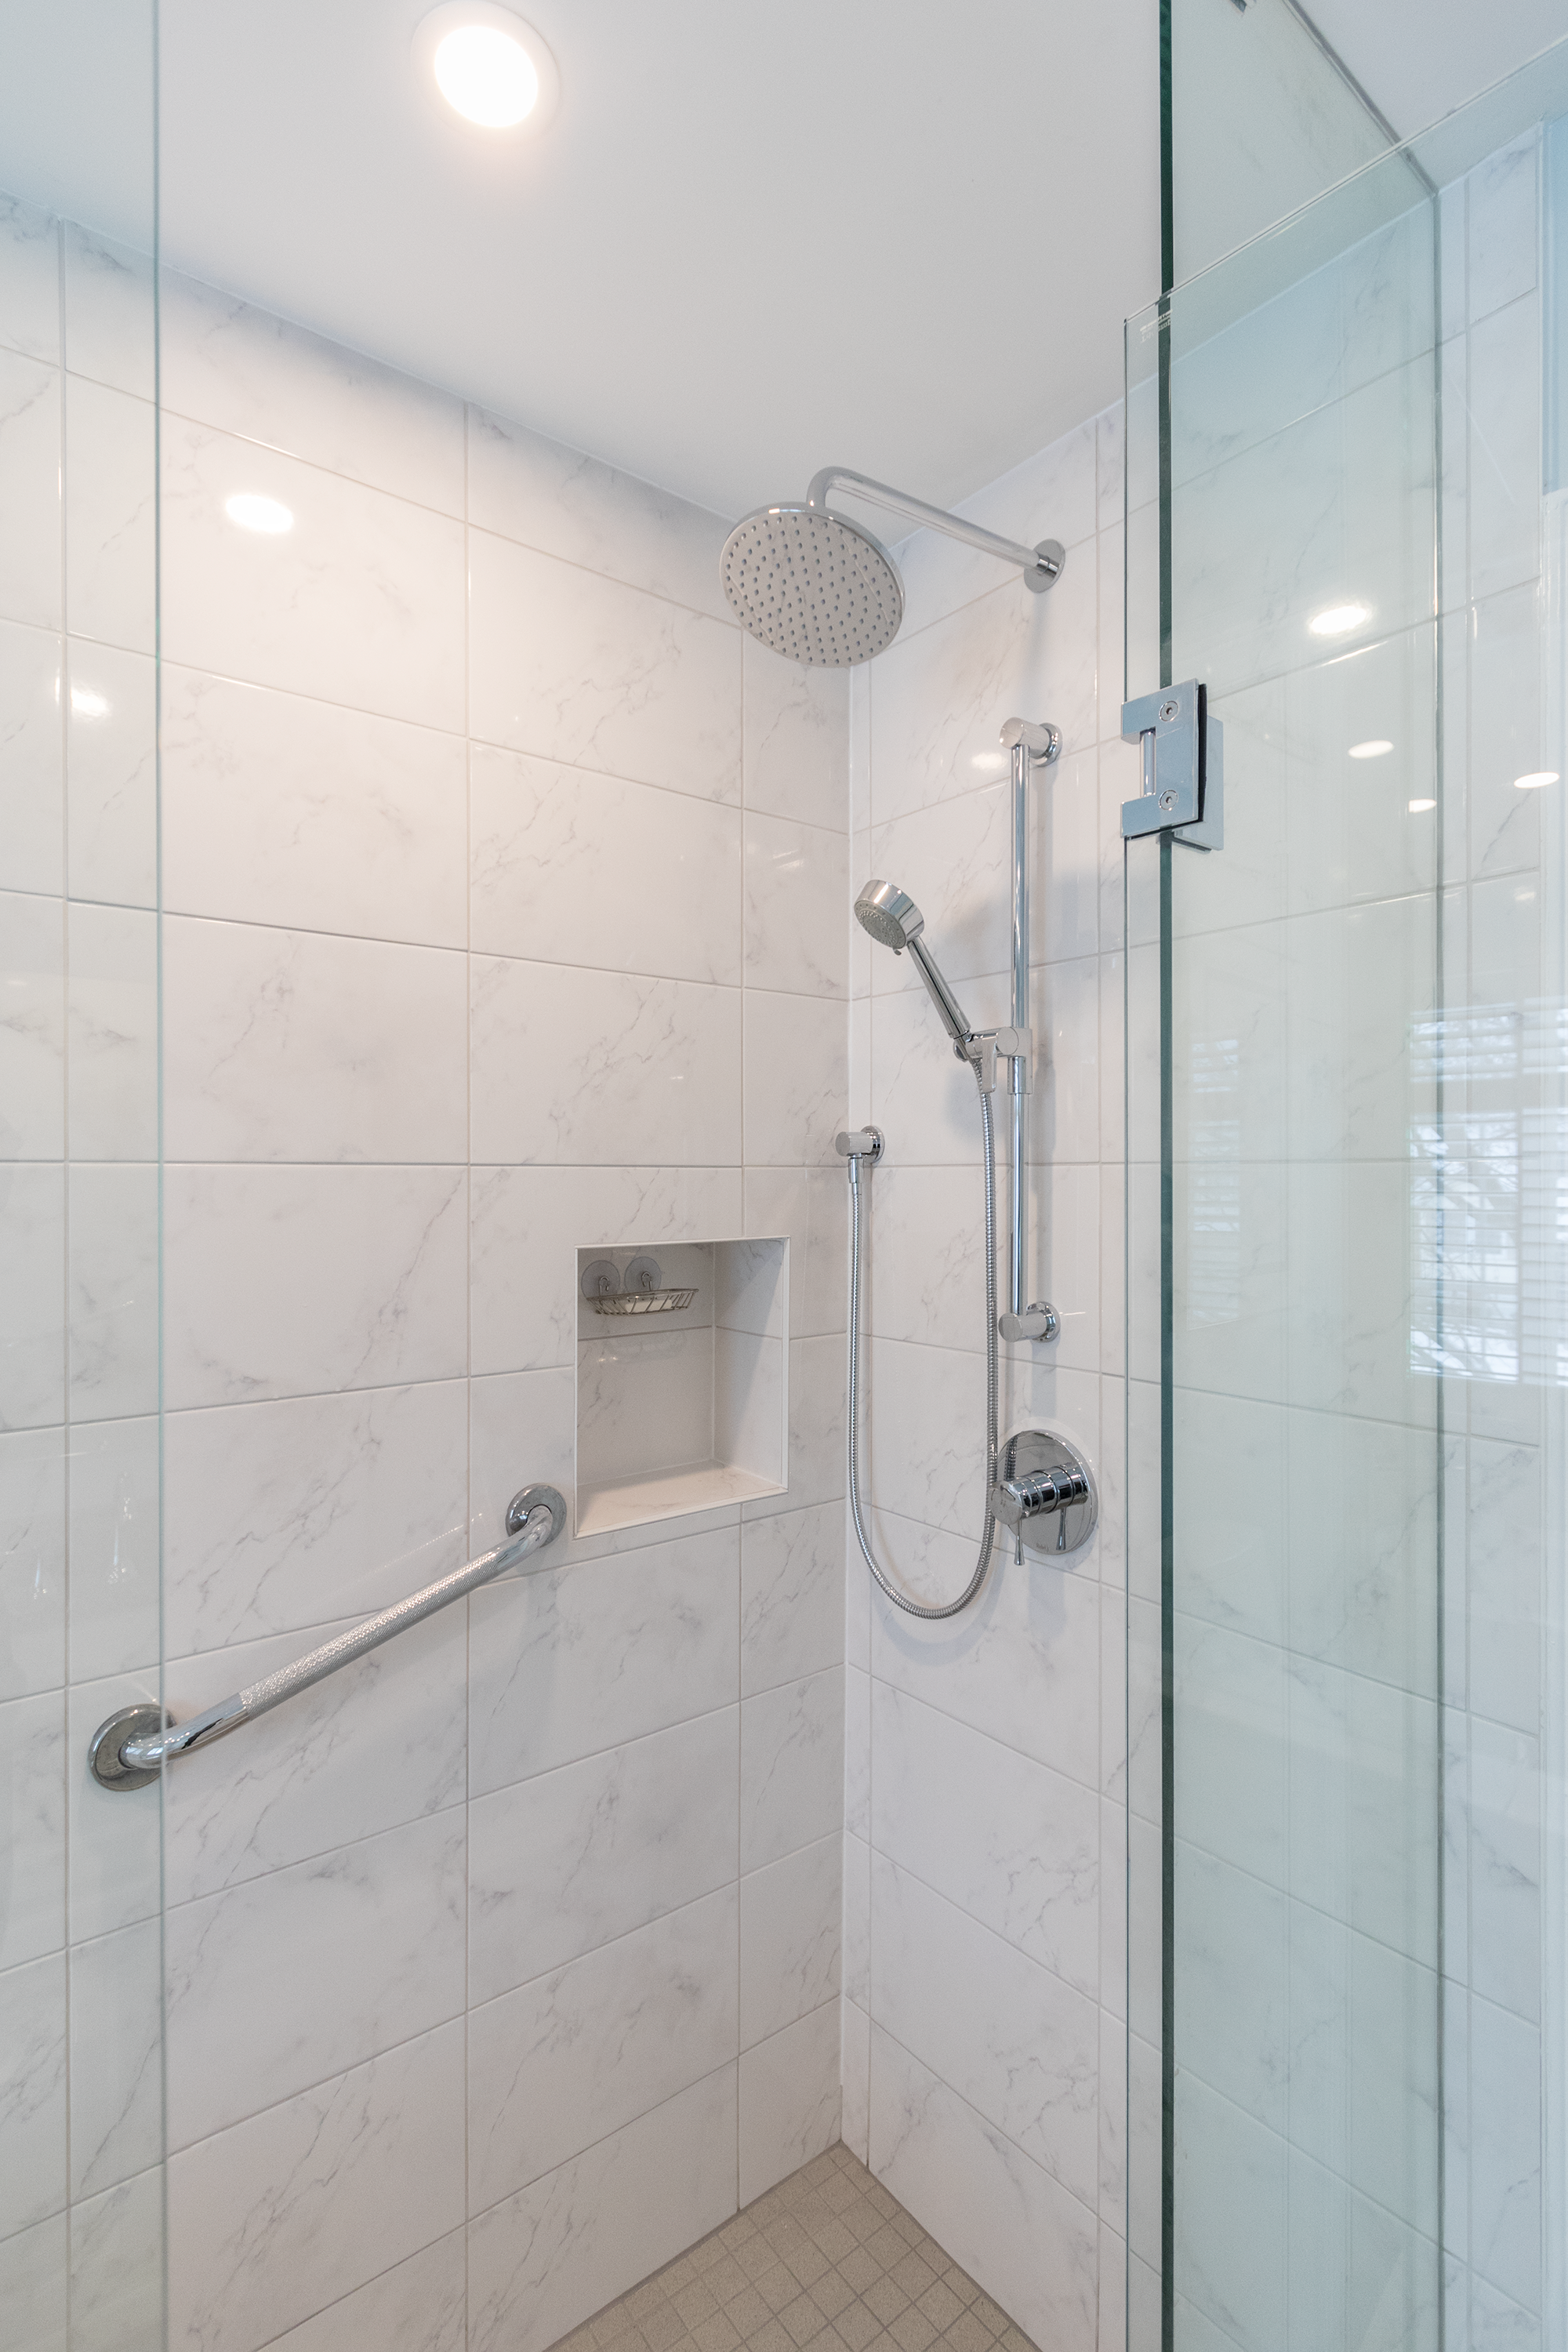
/Full 5’ x 3’ walk-in shower with 12 x 24 porcelain wall tiles resembling carrara marble
If you were to ask me what project we get asked to complete most often, it would be converting an alcove bathtub space to a walk-in shower. Alcove bathtubs have almost become a thing of the past. It’s not that houses don’t have them anymore. It’s just that people aren’t using them much these days.
Now, soaker tubs and stand-alone tubs—that’s a different story. We’re still installing those with bathroom renovations... A LOT! It’s interesting, though, to talk to our clients after we’ve completed their project. They will invite us back a few months later to complete a small job for them, and we’ll ask how they are enjoying their new bathroom. So often we hear, "I love my bathroom, but I never use my tub".
I think nowadays we lead such busy lifestyles that we just don’t have the time to soak in a tub. And once we are retired and a bit older, getting in and out of a tub is a little harder with sore backs and knees and arthritis. Consequently, more and more of our clients are asking us to remove their tubs and install a walk-in shower.
Prefer to listen?
As with any renovation, there are pros and cons to replacing your tub with a shower.
Pros
Ease of mobility. Getting in and out of the shower is generally much easier than getting in and out of a bathtub.
Creating a large shower: If you’re taking out an alcove tub, it allows you to create a 5-foot-wide walk-in shower. This leaves lots of room in the shower. If you have difficulties later in life and need help in the shower, either bathing or just getting in and out, there’s lots of room for another person to help out.
Room for a bench: A large walk-in shower will allow you sufficient room to put a bench in at one end. This provides a spot for shampoo and toiletries, a place to shave, or just a place to sit when needed.
Gorgeous focal point in a bathroom: No doubt, a big walk-in shower is a focal point, and when expertly tiled, it can be the most beautiful part of your bathroom.
Modernizes the space: Getting rid of the bathtub and putting in a walk-in shower definitely creates a modern and updated look to your bathroom. In addition, if the tub you’re getting rid of is a deep corner tub, that really dates your bathroom.
Selling feature for future buyers: Walk-in showers are what many homeowners want, so by installing one in your home, you may be appealing to buyers even more, especially if it’s an oversized shower.
This ensuite bathroom in Whitby had a full tub, which was removed and replaced with a walk-in shower. Curved shower doors were installed to create even more room inside. Shower niches were included to hold shampoo and soap.
Cons
Not a great option if it’s the only tub: If you only have one tub in your home, it could hurt the real estate value of your home. Young families will often require a tub in their home to bathe small children, so if you eliminate the only tub in the house, you may be eliminating that demographic from purchasing your home. This may not matter if you don’t live in a neighbourhood that typically attracts young families. Consider consulting with a real estate agent before deciding if switching to a walk-in shower is the right decision for you.
It is a bit of a financial investment: There is obviously some cost involved in completing this project, so you need to be sure this is right for you.
When weighing the pros and cons of switching your tub to a walk-in shower, the best advice I can give you is the following: If you’re planning on staying in your home for 10+ years, then make your decision based on what suits your lifestyle most. You need to enjoy your home and your time in it, so if you really want to convert your only tub into a walk-in shower, then do it! Always consider resale value, but most importantly, do what makes you happy!
Steps to Converting Your Tub to a Shower
Demolition: You need to remove the tile from your tub area and the associated wall board the tile is attached to. The wall board might be drywall, green board, yellow board, or a form of concrete board. All of that needs to go. Next, you need to remove the tub as well. If you aren’t inclined to do the plumbing associated with that, you will need to call in a Licensed Plumber or hire a renovation company such as Multi Trade Building Services to complete this for you.
Rework the plumbing: If you’re happy with the current drain location and you’re building a customized floor for your shower, this step may not be necessary. If you’re getting a pre-formed base, you will most likely need to relocate the drain. If you’re getting a new shower controller, you will need to rework the supply lines to accommodate the new shower controller valve. Unless you have plumbing experience, it’s best to consult and hire a Licensed Plumber for these tasks.
Create the floor of the shower: You can purchase an acrylic or fibreglass pre-made base for the shower. A word of caution: Make sure you get a good-quality base. You can buy ones that are only $200–$300, but the adage "you get what you pay for" rings true for shower bases. The cheaper ones tend to crack easily, and you’ll likely be replacing them within 5 years. There are good-quality shower bases available that will cost $500–$600. Those are the ones you want to install.
The other option you have is to build your own shower base. If you’re purchasing a good-quality pre-made base, building it from scratch will cost about the same. You need to use 2x4s to build a curb, then pack the shower floor and slope it toward the drain. This is a job best left for the pros if you haven’t had experience doing it before.
Concrete board: Installing the concrete board is the next step. We like to use DensShield, which is the brand name of the concrete board. It is easier to use and much lighter than traditional concrete boards. It has a built-in moisture barrier, and it even absorbs less water than the leading fibre cement.
Tiling: The next step is to install the tile on the walls and floor of the shower. When selecting your tile, make sure that the tile that goes on the floor of the shower is no bigger than 2"x2" so that it will flow with the slope of the floor. Unsanded grout should be used on the wall tile, and sanded grout should be used for the floor tile. If you’re planning on using an accent tile in the shower, make sure the thickness of the tile matches your main tile.
Shower Controller: Once your tiling is complete, you can install your shower controller. If you are planning on installing a shower wand on a rail, ensure you use a diamond bit in your drill when drilling through tile.
Shower doors or curtains: There are several options here. You can simply put up a spring-loaded shower curtain rod and hang a curtain. This is the easier and cheapest route to take. If you get a shower curtain rod that needs to be screwed into the wall, you will likely be screwing into tile, so make sure you use the diamond bit to do it.
Shower doors can be purchased at big-box stores such as Home Depot and Lowe's. If your shower has a standard 5-foot opening, sliding doors can be relatively inexpensive at these stores. If you’re looking for a hinged glass door, sometimes these stores will carry them, but I’ve also seen really nice ones at Costco. Alternatively, you can call your local glazier and have them custom-make doors out of tempered glass. This ensures a clean, frameless look. However, these can run you $2200–$3300. The end result is gorgeous, though!
Cost: To convert a tub to a shower, $9000–$15,000
Time to complete: 1-2 weeks
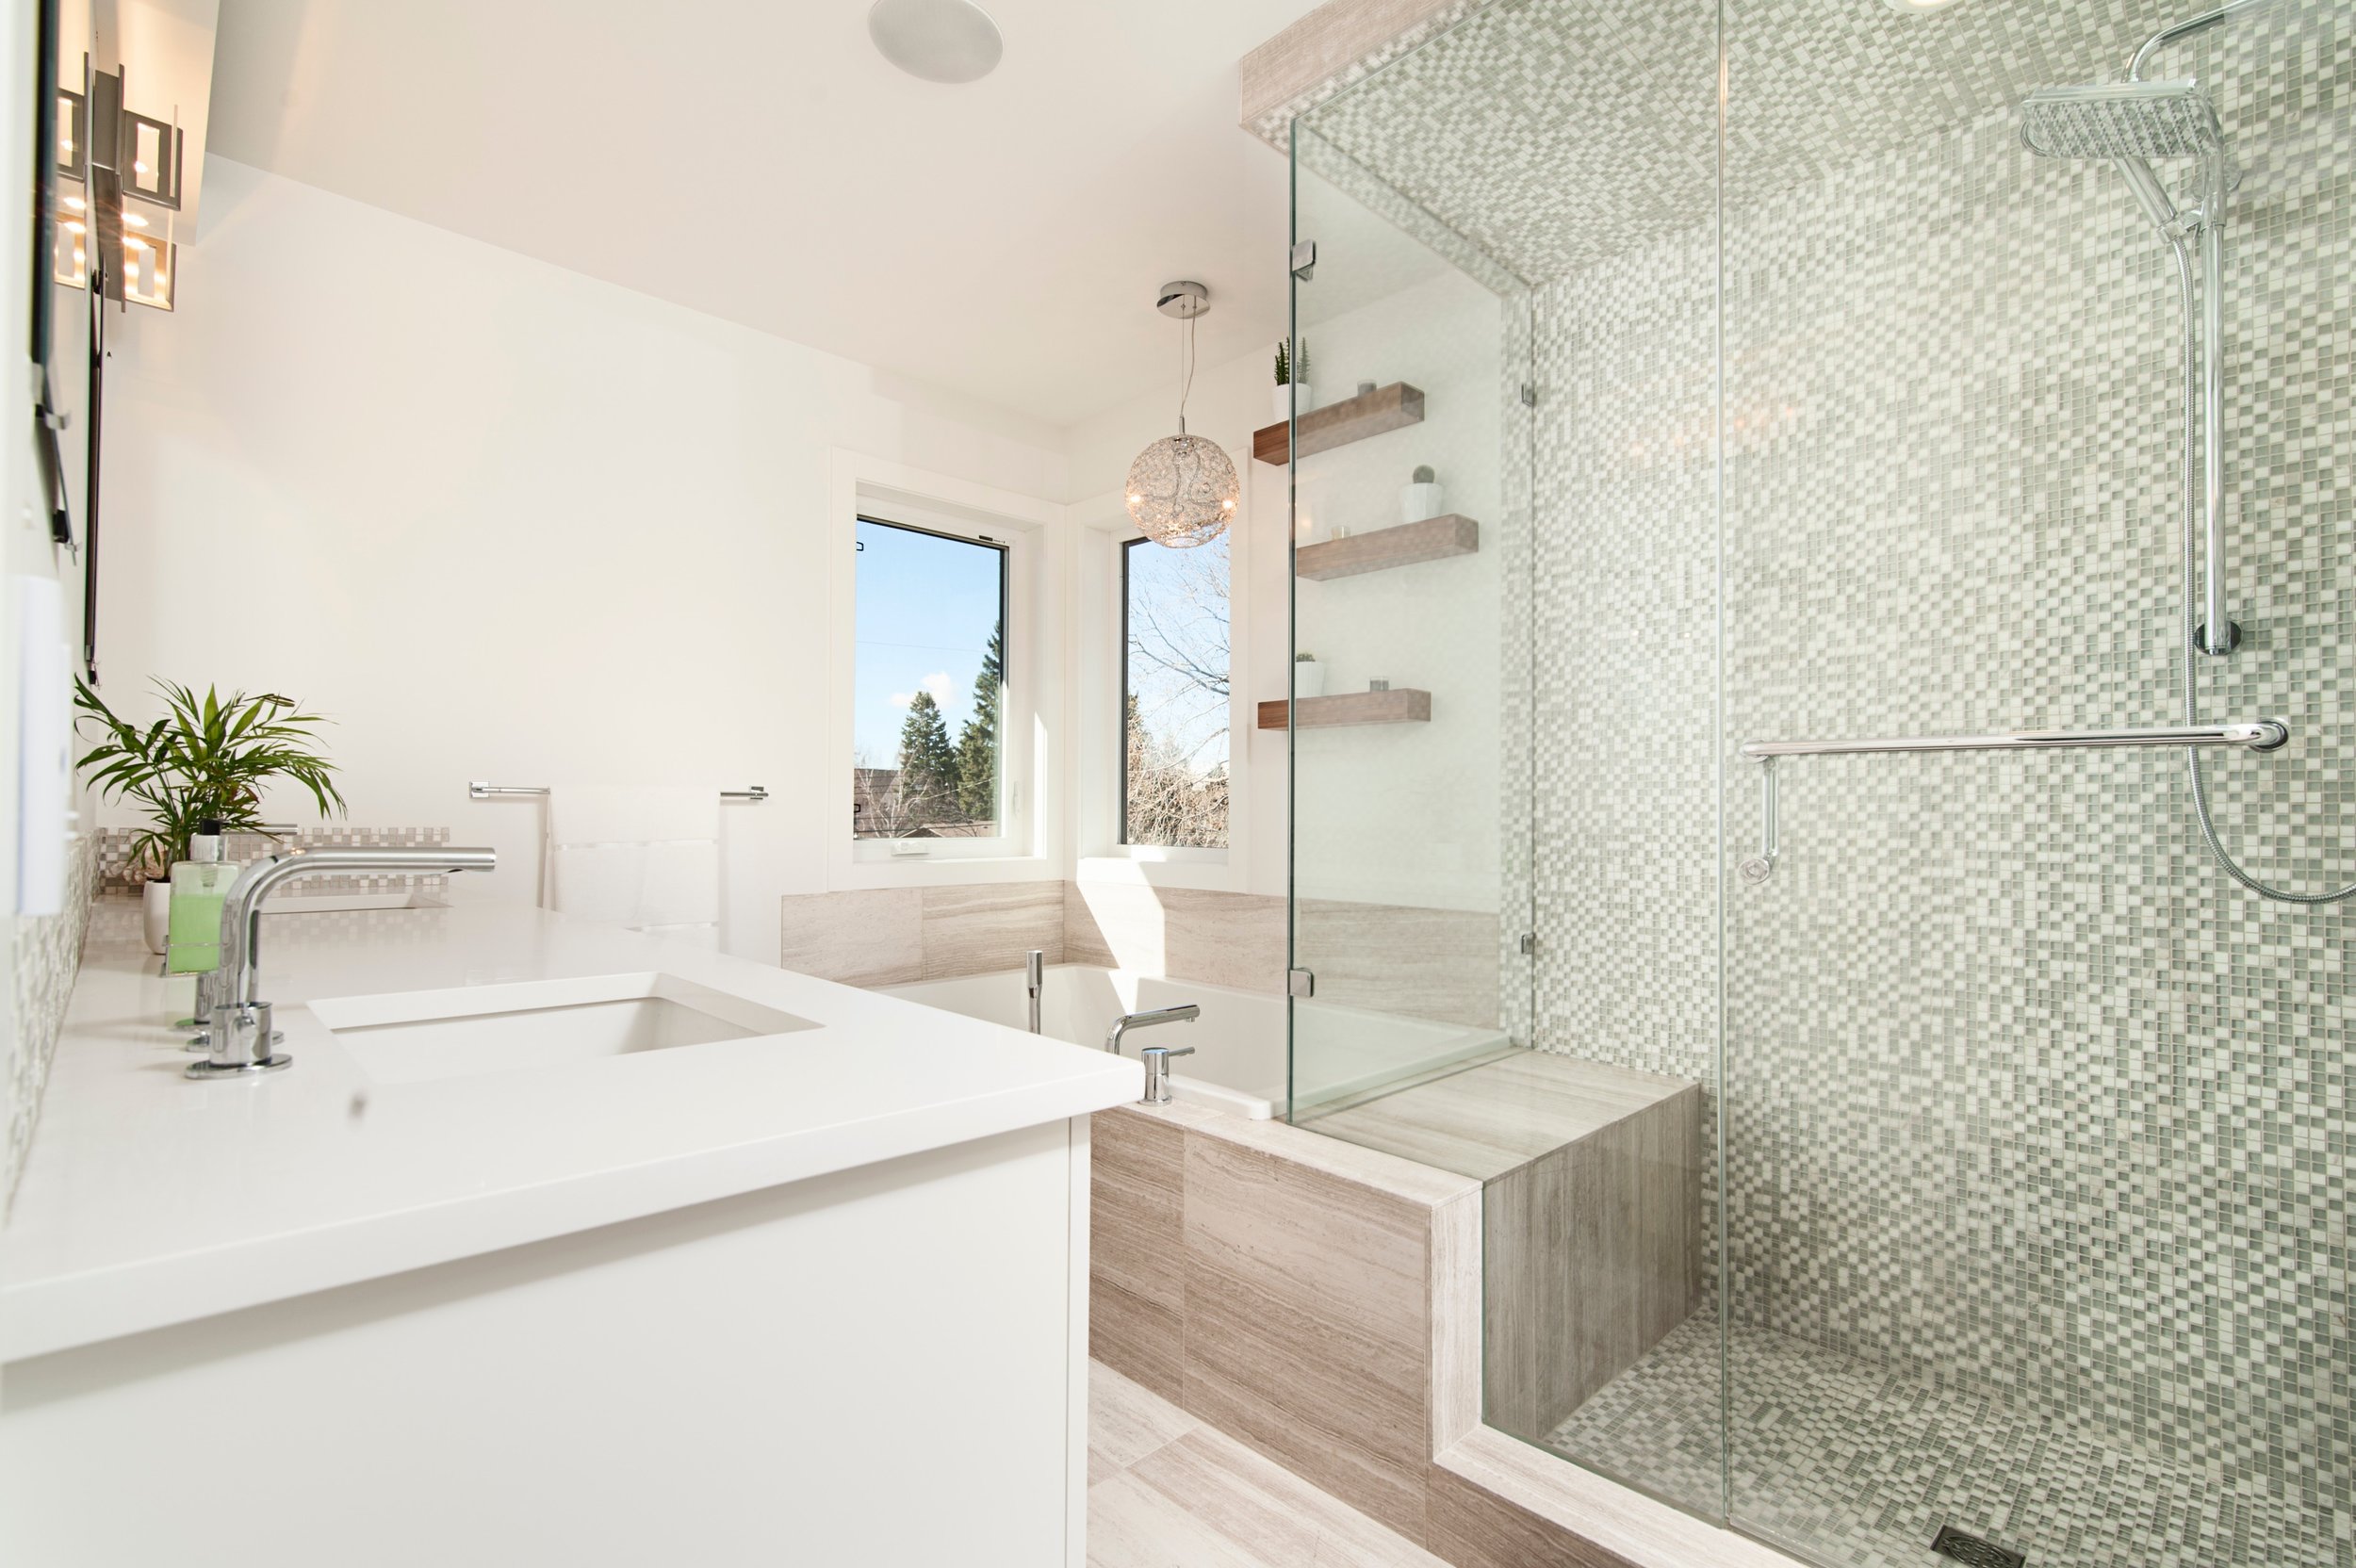
Built-in bench in the walk-in shower. Custom tempered glass shower wall and door.
Transforming bathrooms, transforming homes.
Choosing the right team for your bathroom renovation can make all the difference. Discover why clients trust Multi Trade Building Services to create stunning, functional spaces with ease.
There are so many options when it comes to creating your walk-in shower. Although we’ve discussed the option of tiling the walls of your shower, you could also purchase a shower unit insert, usually made of acrylic. This is often a quicker and sometimes less expensive option. However, cosmetically, it’s typically not as aesthetically pleasing as tiling the shower and doesn’t add as much value to your home as tiling a shower would.
If you’re opting for a tiled shower, a great way to save money is to select an inexpensive wall tile as the main tile (such as a 4"x16" white subway tile) and then jazz it up with a small band of accent tile. The accent tiles can run $10–$30 per square foot, but you’ll likely only need 5 square feet. For more ideas, read my blog post on 10 Ways to Save Money on Your Renovation
Expertly tiled shower niches using the accent tile create symmetry throughout the shower.
Optional extras you could also include for your custom, tiled shower include:
Shower Niche: This is a recessed niche that is great for holding shampoo, soap, etc.
Benches: Built across the one end of your shower, a small corner bench, or even a purchased bench that can just be attached to your shower, some even with a hinge that allows them to be lowered out of the way when not in use.
Grout Sealant: We use a product that, when mixed with the grout, makes it permanently sealed, water-repellent, and stain-resistant. We highly recommend having this done.
Body Jets or Rainfall Shower Heads: These are nice options to add a little luxury to your shower.
So, Should You or Shouldn’t You Convert a Tub to a Shower?
Overall, we see great value in this project. We’ve never removed a tub and put in a walk-in shower and had the client regret the decision. The end result has been gorgeous, and clients love having a large walk-in shower that adds style and luxury to their bathroom. Most often, our clients opt for custom tempered glass doors, but the options here are numerous. In the end, do what makes you happy and is right for where you are in your life right now. Don’t live in someone else’s dream home; create your own right where you are!
If you enjoyed the content in this blog post, leave us a comment below with your thoughts and ideas. We’d love to hear from you.
Let’s build the bathroom of your dreams.
Whether you’re ready to book or just have questions, we’re here to guide you through the process. Let’s create a space you’ll love for years to come!


